ボーンアニメーションを実装する
ボーンアニメーションを実装する
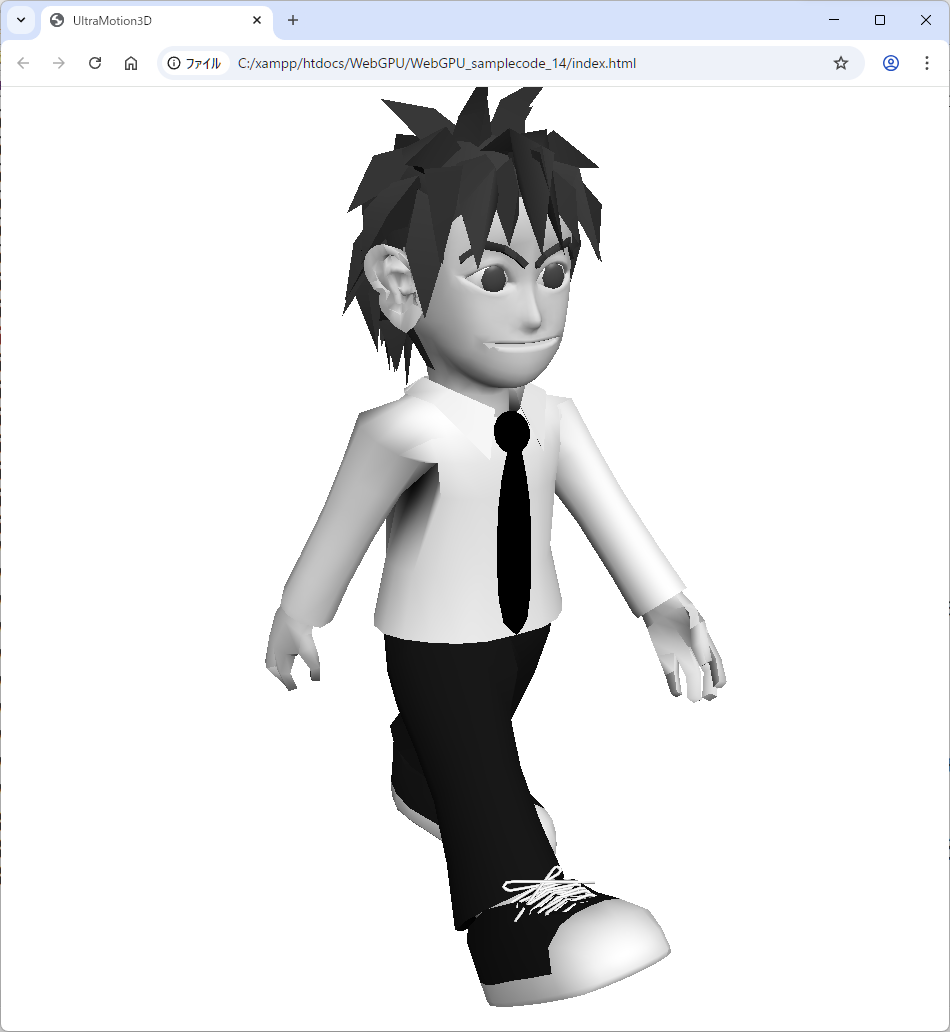
前回のアニメーションはT字ポーズでしたが、今回はボーンを曲げてキャラクターを歩かせるなどのアニメーションを作成します。歩く、手を挙げるといった各アニメーションでは、0フレームから最終フレームまでボーン行列を切り替え、パラパラ漫画のように異なるポーズを連続表示することで動きを表現します。
「Character.js」には、図6のようにダウンロードした「webgpu.zip」に同梱されているデータを使用します。
BoneModel3Dクラスでアニメーションを実装する
前回は、アニメーション行列として単位行列(Matrix3Dクラスの初期値)を使用していました。今回は「matrices3」配列にアニメーションの種類(歩く、走るなど)ごとのデータを格納し、その中の「matrices2」配列に各アニメーションの0フレーム目から最終フレームまでの情報を持たせます。さらに、各フレームの「matrices」配列には各ボーンの行列を追加します。
各ボーンの行列には、Blenderなどの3DCGツールで設定した平行移動・回転・スケーリングの行列と姿勢行列を乗算した結果である、16要素(4×4行列)が格納されています。
・サンプルコード「lib」→「BoneModel3D.js」class BoneModel3D extends Model3D {
(中略)
setMatrix(matrix) {
this.matrices.push(matrix);
}
setMatrix2() {
let array = new Float32Array(this.matrices.length*16);
for (let i = 0; i < this.matrices.length; i++ )
for (let j = 0; j < 16; j++ )
array[i*16+j] = this.matrices[i][j];
this.matrices2.push(array);
this.matrices = [];
}
setMatrix3(materials) {
this.matrices3.push(this.matrices2);
this.matrices2 = [];
}
(中略)
setAnimation() {
if ( this.playing ) this.animationFrame += _elapsed*30;
const length = this.matrices3[this.currentAnimation].length;
if ( this.animationFrame >= length ) {
if ( this.loopAnimation ) {
this.animationFrame = 0;
} else {
this.animationFrame = length - 1;
this.playing = false;
}
}
_device.queue.writeBuffer(
_uniformBuffer,
4 * 16 * 4 + OFFSET_SIZE*this.num,
this.matrices3[this.currentAnimation][~~this.animationFrame].buffer,
0,
4 * this.matrices3[0][0].length
);
}
playAnimation(current,loop) {
this.currentAnimation = current;
this.animationFrame = 0;
this.loopAnimation = loop;
this.playing = true;
}
}【サンプルコードの解説】
setMatrixメソッドでは、各ボーンの行列をmatrices配列に追加します。setMatrix2メソッドでは、各フレームのポーズを「Float32Array」の一次元配列としてまとめ、matrices2配列に格納します。setMatrix3メソッドではアニメーションの種類ごとにこれらのデータをまとめてmatrices3配列に格納します。
「setAnimation」メソッドで毎フレーム1フレームずつ進めてアニメーションさせ、現在のポーズをユニフォームバッファに渡します。
「playAnimation」メソッドでアニメーションの再生フレームの開始をセットします。
フレームタイムを実装する
「everyFrame」関数の冒頭で、前フレームからの経過時間を取得するために「frameTime」関数を呼び出します。
・サンプルコード「lib」→「UltraMotion3D.js」(前略)
function everyFrame() {
frameTime();
_commandEncoder = _device.createCommandEncoder();
const textureView = _context.getCurrentTexture().createView();
_renderPassDescriptor = {
colorAttachments: [
{
view: textureView,
clearValue: { r: 1.0, g: 1.0, b: 1.0, a: 1.0 },
loadOp: 'clear',
storeOp: 'store',
},
],
depthStencilAttachment: {
view: _depthTexture.createView(),
depthClearValue: 1.0,
depthLoadOp: 'clear',
depthStoreOp: 'store',
},
};
_passEncoder = _commandEncoder.beginRenderPass(_renderPassDescriptor);
draw();
_passEncoder.end();
_device.queue.submit([_commandEncoder.finish()]);
requestAnimationFrame(everyFrame.bind(everyFrame));
}
function frameTime() {
const timeNow = new Date().getTime();
if (_lastTime != 0) {
_elapsed = (timeNow - _lastTime) / 1000.0;
}
if ( _elapsed > 1/2 ) _elapsed = 1/2;
_lastTime = timeNow;
}
(後略)【サンプルコードの解説】
frameTime関数では現在時刻を表す「timeNow」変数から前フレーム時の時刻「_lastTime」を減算し、その差を1000ミリ秒で除算することで、経過時間を実数値として「_elapsed」変数に取得します。
実行ファイルindex.htmlファイル
それでは、次のサンプルコードを入力し「Google Chrome」で「index.html」を実行してみましょう。
「_model」変数(BoneModel3Dクラス)の「playAnimation」メソッドでアニメーションを再生します。クリックすると1番のアニメーションを再生し、再生が終わったら0番のアニメーションへ切り替えます。
・サンプルコード「index.html」<!DOCTYPE html>
<html lang="ja">
<head>
<meta charset="UTF-8">
<title>UltraMotion3D</title>
<meta name="viewport" content="width=device-width">
<link href="css/main.css" rel="stylesheet" type="text/css" />
<link href="css/mobile.css" rel="stylesheet" type="text/css" media="only screen and (max-width:480px)" />
<script src="lib/Material.js"></script>
<script src="lib/Vector3D.js"></script>
<script src="lib/Matrix3D.js"></script>
<script src="lib/Model3D.js"></script>
<script src="lib/BoneModel3D.js"></script>
<script src="lib/WGSL.js"></script>
<script src="lib/UltraMotion3D.js"></script>
<script src="models/Character.js"></script>
<script type="text/javascript">
var _model;
var _pos = new Vector2D(0,0);
var _click = false;
function init() {
_model = new Character();
_model.pos.y = -150;
document.onmousedown = onMouseDown;
document.onmousemove = onMouseMove;
document.onmouseup = onMouseUp;
}
function draw() {
if ( !_model.playing ) _model.playAnimation(0,true);
_camera.lookAt(new Vector3D(0,0,500),new Vector3D(0,0,0),new Vector3D(0,1,0))
_model.draw();
}
function onMouseDown(event) {
_pos = getPos(event);
_click = true;
}
function onMouseMove(event) {
if ( _click ) {
pos = getPos(event);
_model.rotate.addX(pos.y-_pos.y);
_model.rotate.addY(pos.x-_pos.x);
_pos = pos;
}
}
function onMouseUp(event) {
_click = false;
_model.playAnimation(1,false);
}
</script>
</head>
<body onload='initWebGPU("CanvasAnimation");'>
<canvas id="CanvasAnimation" width="1000" height="900"></canvas>
</body>
</html>折角色々やってきたからには、誰にも負けないものを持ちたいです。Webデザインツールを自作してWebデザインしたのは筆者だけでしょうか? 3DCGツールも2DCGツールも音楽ツールも動画ツールもあらゆるジャンルのツールを自作して、それらを使って作品を作ったのは筆者だけでしょうか? 何かプログラミングして生きた証を残したいです。もしマスターピースが作れたら、デジタル作品でも後世に残せるのかな?
おわりに
今回はBlenderで作成した3Dアニメーションを「UltraMotion3D」ライブラリで表示しました。これで本連載は終了となりますが、ここまで進められた方であれば、WebGPUで3Dライブラリを作るための最低限の知識は身に付いたはずです。3Dライブラリも、決して特別に難しいものではないと感じていただけたのではないでしょうか。
この記事をシェアしてください
関連記事
WebGPUライブラリ「UltraMotion3D」で3DのサンプルWebコンテンツを動かしてみよう
2025年6月5日 6:30
新たに「ボーン(骨)」を実装したボーンモデルクラスを作成してみよう
1月7日 6:30
3Dモデルに「テクスチャ」を貼って模様を付けてみよう
2025年12月10日 6:30
3Dギターに「マテリアル」を指定して、本物のギターそっくりの材質を再現してみよう
2025年11月19日 6:20
「Blender」で3Dモデルをデザインして「UltraMotion3D」ライブラリで表示してみよう
2025年10月29日 6:30
はじめての「WebGPU」で背景色を塗りつぶしてみよう
2025年6月25日 6:30
バックナンバー
この記事の筆者

筆者の人気記事
Think ITでは、技術情報が詰まったメールマガジン「Think IT Weekly」の配信サービスを提供しています。メルマガ会員登録を済ませれば、メルマガだけでなく、さまざまな限定特典を入手できるようになります。
